
Class Shirt Design: Colors, Logos and Ideas by Grade
A good class shirt needs three things: a shirt color that looks good in photos, a logo or artwork that means something to the class, and lettering that reads from a distance. This guide covers each one, with design ideas by school level and how to design it yourself on a phone or laptop, no design software needed.
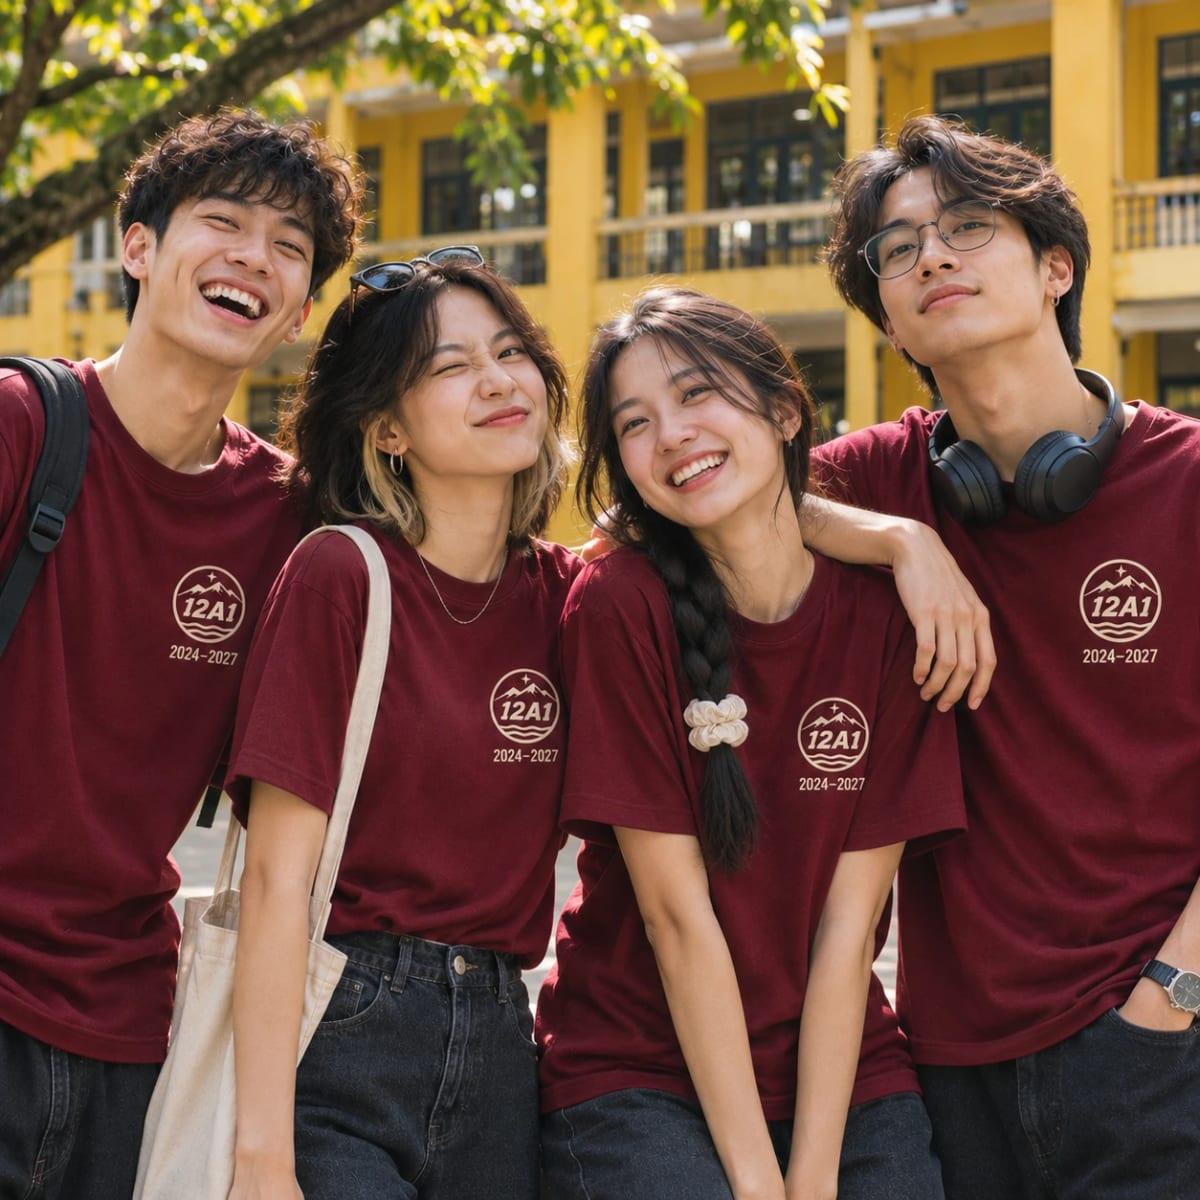
Step 1: Pick the shirt color
The color decides how yearbook and field-trip photos turn out. A few simple rules:
- Strong, deep colors (burgundy, navy, olive, mustard, black) stand out in photos and hide stains on a full day out.
- White and pastels look soft indoors or in a studio, but get dirty more easily.
- Multi-color artwork on dark shirts: DTG lays a white underbase beneath the design so the colors come out true. Check transparent areas or soft edges carefully on the mockup.
- One color for the whole class gives an even group photo; for variety, keep the same artwork and split 2–3 shirt colors by group.
Step 2: Make the class logo
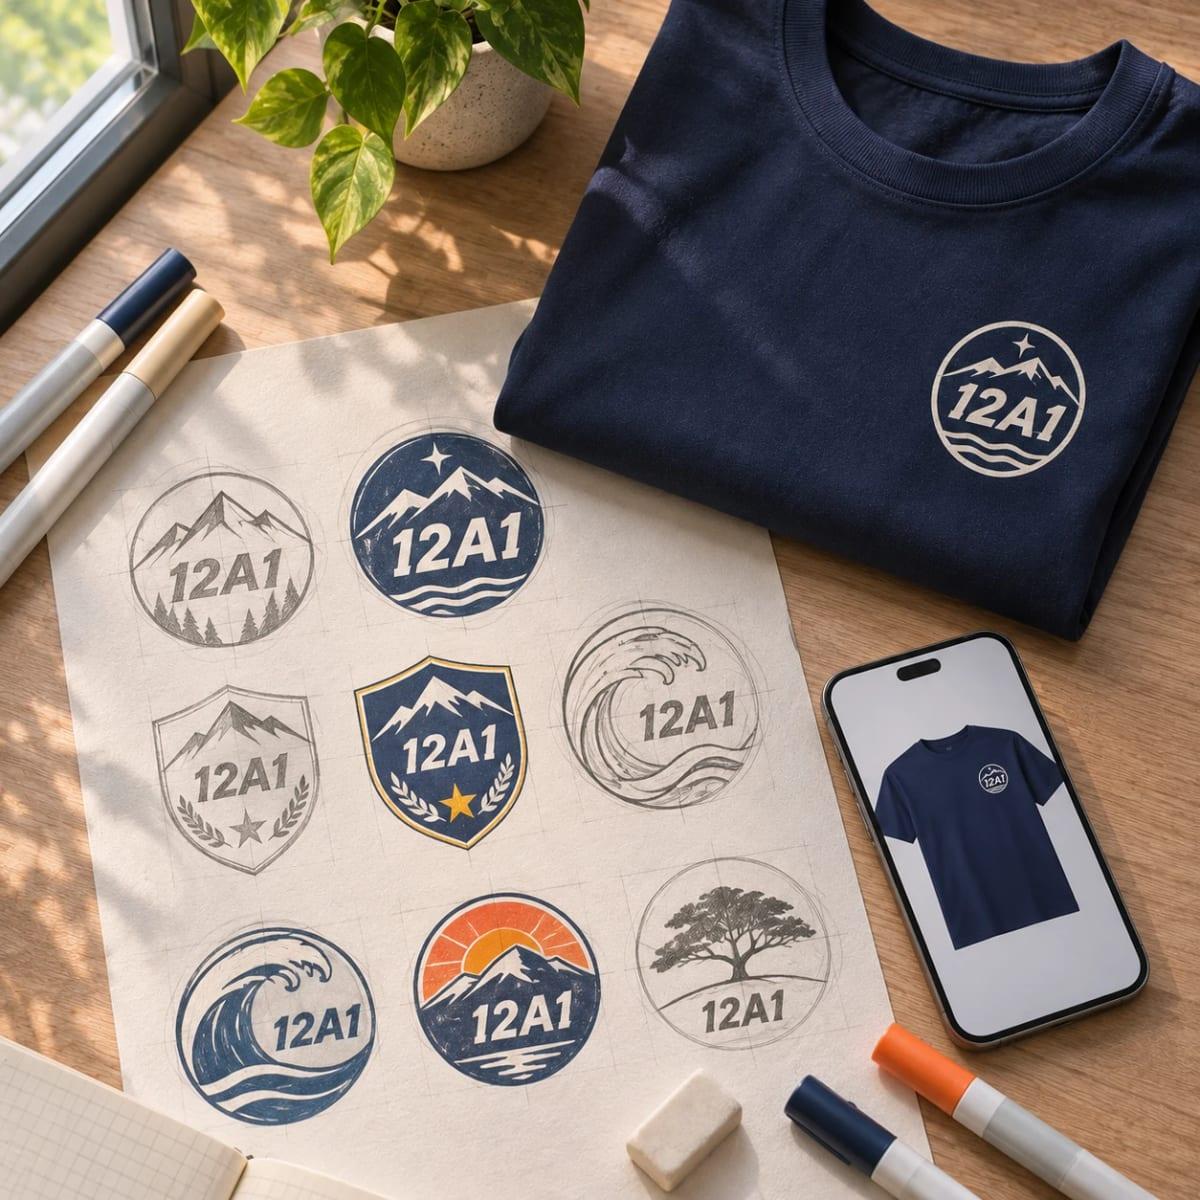
A class logo doesn’t need to be complicated. Popular styles:
- Class + school + years, e.g. “12A1 · 2024–2027”, set in a round badge or shield.
- A class symbol: an animal, a nickname, the class’s catchphrase.
- Chibi or avatars of every student combined into one big image: many colors and details at the same DTG price.
- A group photo printed across the front or back. Use the original photo file, not one compressed by social media.
A left-chest logo up to 10×10 cm and one design up to 35×40 cm are included in the shirt price. Individual names or numbers on the back count as one extra print position, with no setup fee.
Class shirt ideas by school level
| Level | Design ideas | Notes |
|---|---|---|
| Primary school | Simple cartoon art, big class name, bright colors | Kids sizes 110–140 by height; parents should size up 1 |
| Lower secondary | Class nickname, animal mascot, stylized lettering | Students grow fast: between two sizes, take the larger |
| High school (yearbook) | Group photo, chibi of the class, name + number on the back | Order before yearbook photo season; girls can choose a fitted cut |
| University, clubs | Faculty or club logo on the left chest, slogan on the back | In winter, choose a hoodie or sweater instead of a T-shirt |
Full size chart for students, parents and teachers: school uniform size chart.
Step 3: Design in Canva or right on the website
- You already have an idea or logo: open Startee Mockup, pick the shirt and color, upload your image, add text, drag it into place and see the mockup and price instantly. Works on phone and desktop, no account needed.
- You want to draw the logo first: make it in Canva or any tool you know, export a large PNG with a transparent background (free Canva can’t export transparent backgrounds; export on white and remove the background), then upload it to Startee Mockup.
- You’d like design help: send your idea and class photos via Zalo 0911 850 850 and Startee will suggest a layout before printing.
See how to prepare files so prints stay sharp in preparing artwork for T-shirt printing.
Common class shirt design mistakes
- Text too small or strokes too thin: hard to read on fabric in a distant photo.
- Low-resolution images from the web: they pixelate when enlarged to shirt size. See pixelated web images on shirts.
- Screen colors differ from print: screens show RGB while printers use CMYK ink, so very vivid colors can come out slightly softer.
- Collecting sizes by label: ask each student’s height and weight instead of “what size do you wear”.